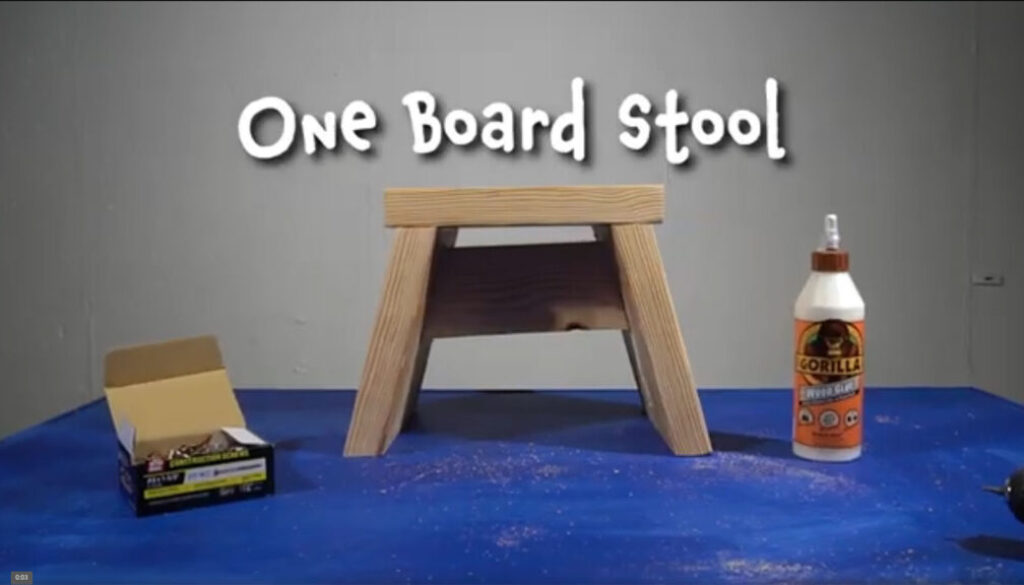
Summer Project – One-Board Stool
Follow these instructions (and the video) to make a one-board stool!
Materials You’ll Need
- (1) 2 x 10 board (six feet long)
- Wood glue
- (6) 1-5/8″ wood screws
- Paint or stain (optional)
Tools You’ll Need
- Saw (miter saw or circular saw)
- Tape measure
- Pencil
- Drill with bit for wood screws
- 1/8-inch drill bit for pilot holes
Cut List (4 total cuts)
- (1) 12-inch cross-cut (top)
- (2) 9.5-inch bevel cuts (legs)
- (1) 10-inch x 4-inch miter cut (brace)
Instructions (see video for details/example)
- Cut 12 inches off one end of the board – this will be the top of your stool.
- You will need two (9.5-inch) legs cut on a 15-degree angle.
Cut the left side of the first leg, then slide the board to the left and cut the other side at the same angle.
Repeat for the second leg. - Cut one last piece for the brace.
Cut 10 inches off of the board.
Then, rip that piece lengthwise at 4 inches wide. - Use your pencil to mark your miter cuts on both ends of the brace piece.
The cuts are both 15 degrees.
Make your cuts. - Drill two pilot holes on the inside of each leg.
Apply wood glue to the joining surfaces.
Secure the legs to the top with wood screws, slowly countersinking the heads. - Drill two pilot holes, one on each end of the brace.
Apply wood glue to the joining surfaces.
Secure the brace to the legs with wood screws, slowly countersinking the heads. - You have finished the build – you can optionally paint or stain your stool.
If you have any questions or comments about this video, please send them to info@calvinistcadets.org.


