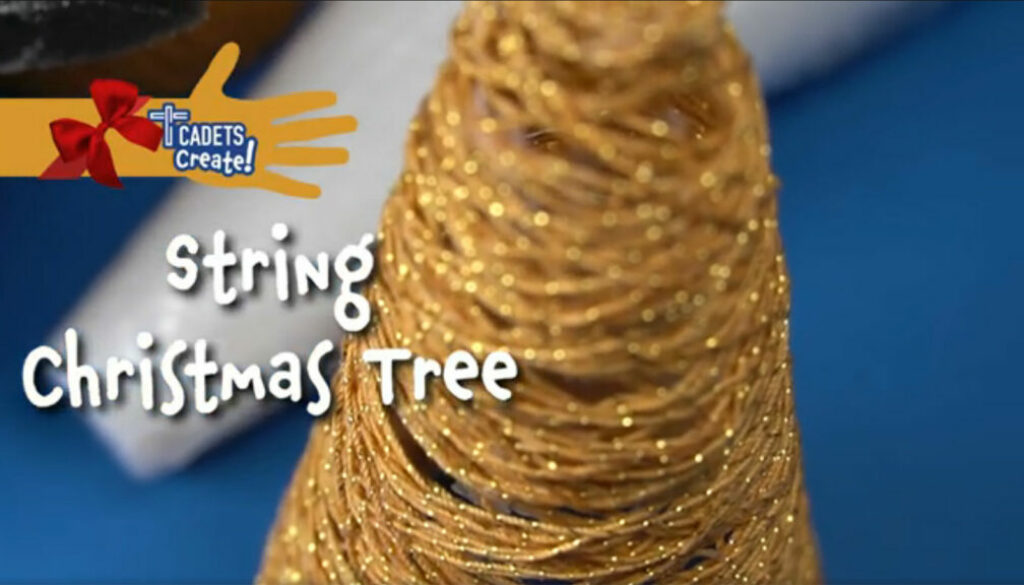
Holiday Project – String Christmas Trees
Follow these instructions (and the video) to make string Christmas trees!
Materials You’ll Need
- styrofoam (or similar) cones
- plastic wrap
- crochet thread
- Mod Podge
Tools You’ll Need
- sponge brush
- scissors
Instructions (see video for details/example)
- Wrap a cone in plastic wrap if it isn’t already. You may need to add a sharper “tip” to the top of your cone using cardboard or something similar.
- Make a slipknot in your crochet thread and slip it over the top of your cone.
- Begin winding your crochet thread around the cone. After you have done a few loops, dip your sponge brush in the Mod Podge, and dab some on what you have wrapped so far to help hold it in place.
- Continue wrapping the crochet thread up and down the cone at random, and dabbing it with Mod Podge as you go to help hold it in place. Be sure to do several loops around the bottom of the tree to help make a base for it. You may want to leave some room at the bottom of the cone to make it easier to remove the string tree when it’s dry.
- When you are satisfied with the string coverage on the cone for your tree, cut the crochet thread with your scissors and dab it with some Mod Podge to hold it in place. Then do a final dabbing with the Mod Podge all over the string.
- Let the string and Mod Podge dry for several hours – preferably overnight – to make sure everything is dried and stiff.
- Carefully remove the tree from the cone.
If you have any questions or comments about this video, please send them to info@calvinistcadets.org.


