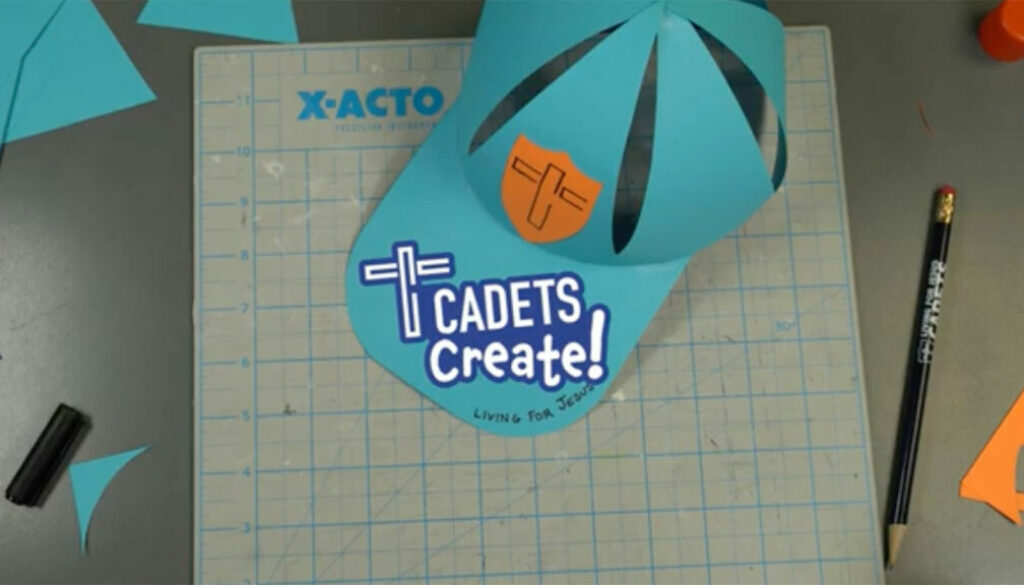
Craft Project – Paper Cap
Follow these instructions (and the video) to make a cap out of paper!
Instructions (see video for details/example)
What You Will Need
- paper
- scissors
- ruler
- pencil
- markers/paint/etc.
Step #1
Glue two 8.5″ x 11″ pieces of paper together lengthwise with a one-inch overlap to make a single piece of paper that is 21″ long.
Step #2
Trim the paper to 5.5″ tall.
Step #3
Mark a line 2cm from the bottom edge.
Make six 8cm markings from the right edge of the paper.
Make a mark at the top edge of the paper 4cm from the right edge –
from that mark, make five 8cm markings moving to the left.
Use a straight edge to connect the top and bottom marks to form connecting triangles.
Step #4
Cut out the top spaces, leaving the bottom strip and upward-facing triangles.
Step #5
Glue the left tab underneath the right edge.
Glue two opposite triangle points together, stacking the three pairs at the center of the cap.
Step #6
For the visor, trace an arc on another sheet of paper using the cap as a guide.
Draw a rectangle the width of your cap.
Pencil another arc inside the first one, about .5″ below it.
Step #7
Cut out the visor.
Bevel the corners.
Cut tabs along the curved edge from the bottom arc to the top arc.
Step #8
Fold the tabs upward.
Glue them to the inside edge of your cap.
Step #9
Add a logo and/or other embellishments.
If you have any questions or comments about this video, please send them to info@calvinistcadets.org.


