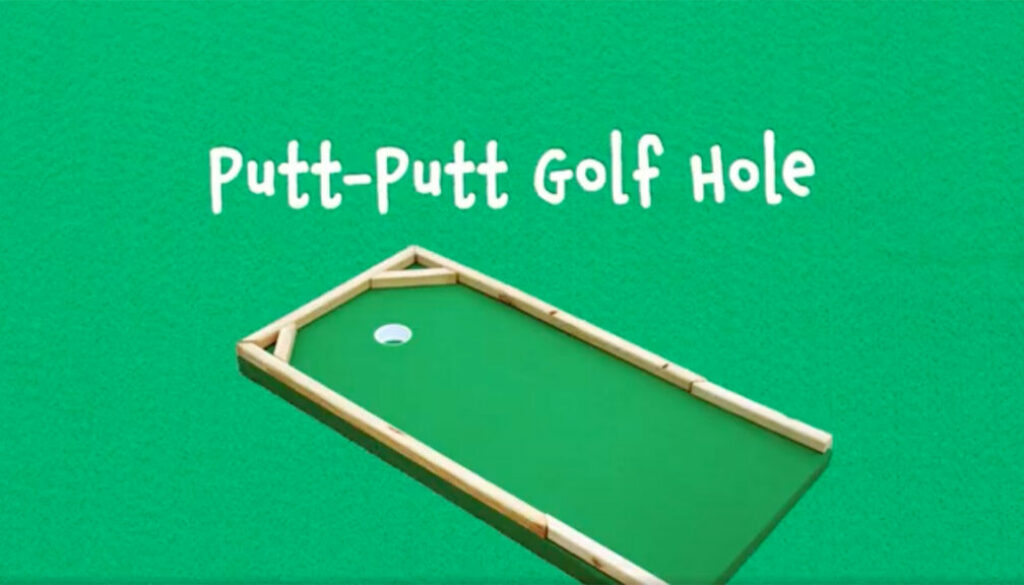
Summer Project – Mini Putt-Putt Hole
Follow these instructions (and the video) to make a mini putt-putt hole!
You’ll Need
- Particle board
- Wood balusters
- Clamps
- Hand saw and miter box
- Jigsaw
- Drill
- Scissors
- Spray adhesive
- 3″ diameter PVC fitting
- Wood glue
- Green felt
Instructions (see video for details/example)
Step #1
Determine the dimensions of your hole.
Cut particle board to the dimensions.
Determine your cuts for your balusters.
Baluster pieces will surround the bottom edge to prop up the hole.
Step #2
Cut balusters to fit.
Step #3
Apply wood glue to the underside of each baluster piece.
Turn the pieces over and clamp to the particle board.
Allow to dry according to your glue’s directions.
Step #4
Find the center of your hole and mark it.
Trace your PVC fitting onto the board.
Cut your hole out using a hole saw or by drilling a starter hole and then finishing with a jigsaw.
Step #5
Evenly coat your felt with spray adhesive.
Place the top side of your putt-putt hole onto the felt.
Press onto the wood to apply pressure.
Step #6
Cut the four corners out of the felt.
Coat spray adhesive evenly around the edges of the wood and on the felt.
Fold felt around the four edges and apply pressure with hands.
Step #7
Make cuts into the hole like pizza slices.
Spray adhesive around the rim of the hole.
Pull the felt slices through and press them onto the adhesive.
Step #8
Flip the hole over.
Place the PVC pipe fitting into the hole.
Step #9
Cut some more balusters to make bumpers.
Place bumpers in various ways.
Add corner bumpers.
Come up with extra obstacles to add to the hole.
If you have any questions or comments about this video, please send them to info@calvinistcadets.org.


